Hello all! I'm here to do what I do best, show you how to hack up your Bonnie pattern. So are you ready to give your Bonnie pattern a little twist?
Today we'll be talking about how to turn Bonnie into a cardigan. As a perpetually cold person I can never get enough cardigans. It's nice to be able to whip one up quickly from a pattern that you know already fits.
For the cardigan version I'd recommend using stable knits. For example wool jersey, ponte and cotton interlock/cottons with low stretch. My sample is sewn in a wool blend sweater knit that has very little stretch. It's similar to a wool jersey, but slightly lighter weight. You'll also want to use some interfacing on the button band. I recommend using tricot/knit interfacing. This is interfacing has a knit base and does not change the hand of the fabric as much as woven interfacing. You can purchase this sort of interfacing from Fashion Sewing Supply, Emmaonesock.com, Fabric.com or search for Tricot or knit interfacing.
You'll need to use the crew neck of view A for the cardigan version. Either length of the pattern is fine. For my sample I've used view A's neckline combined with the longer shirt length of view C.
Materials needed - Bonnie pattern, trace paper, ruler (a clear one is best), pen/pencil, scissors.
Drafting Instructions
Step 1. Trace off the front bodice piece and add seam allowance to the CF. (In my example SA is 1/4")
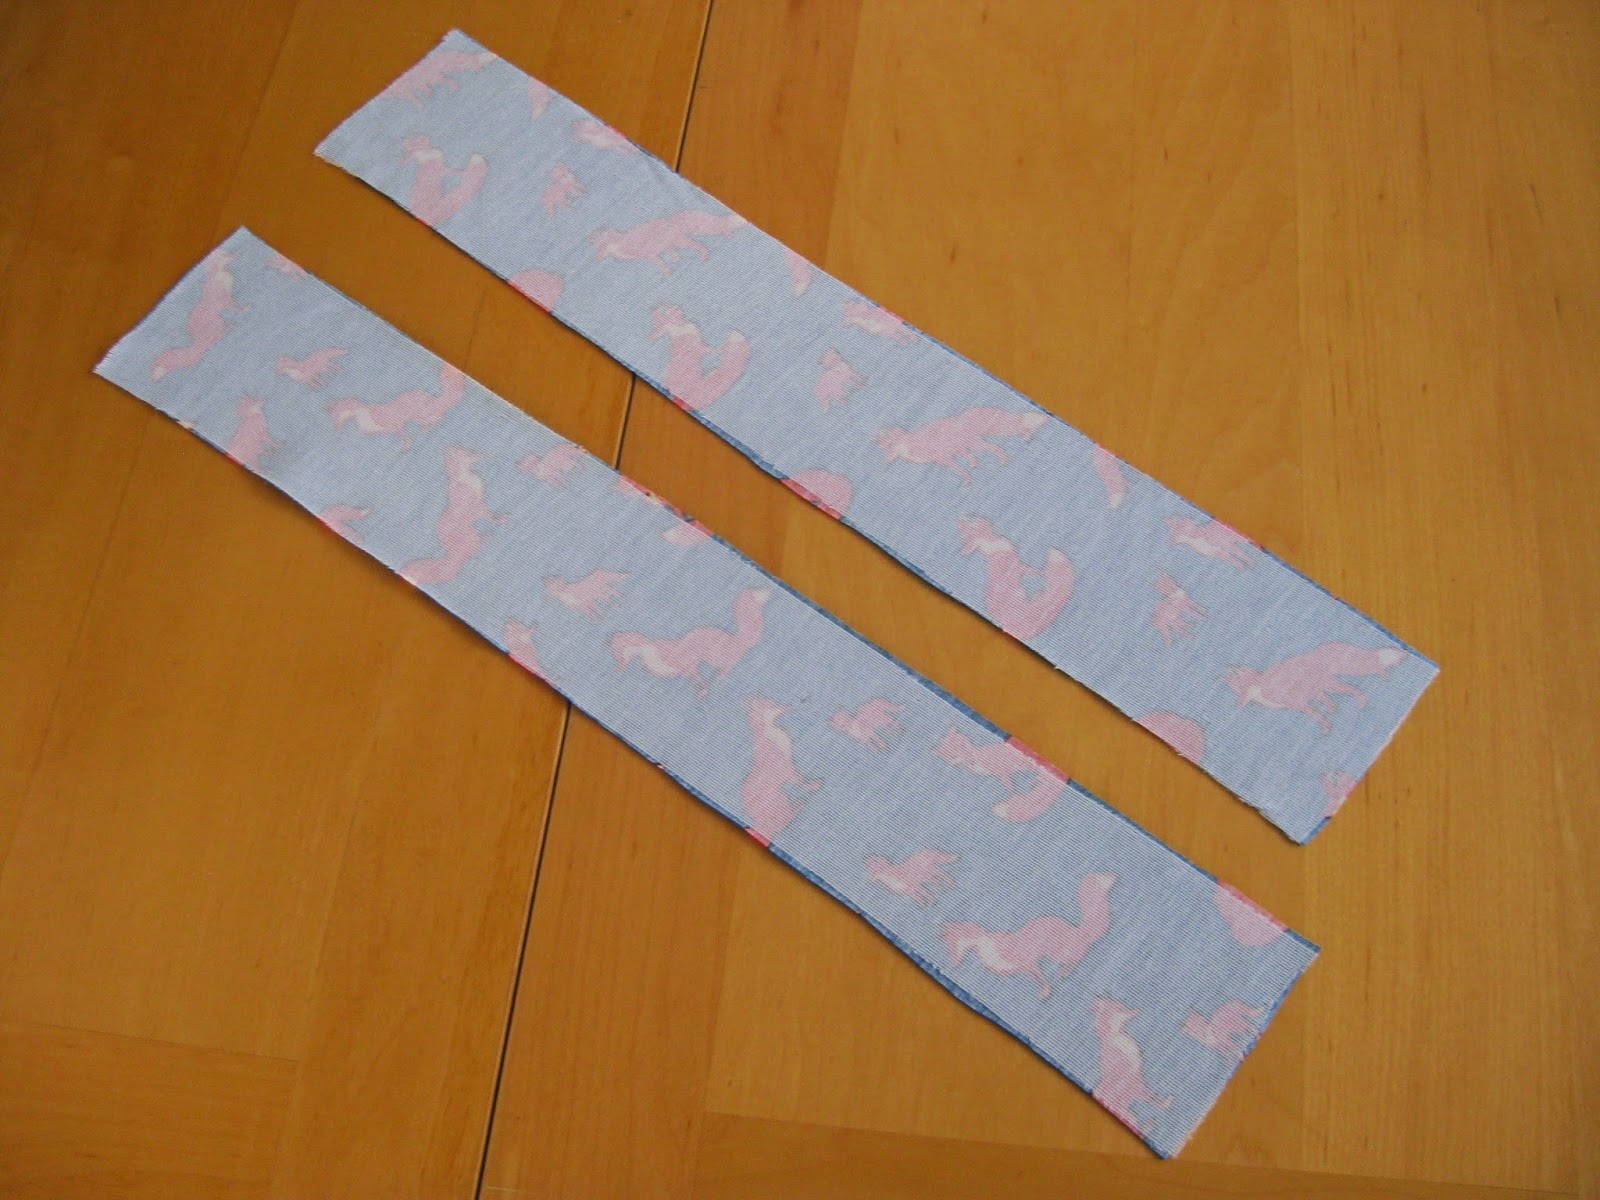
Step 2. To calculate the length of the button band we will need to take some measurements. Fold the neckband in half and measure the height. Subtract seam allowance and write down the measurement. Measure the CF of the bodice piece, subtract seam allowance at both the top and bottom, and then write down that measurement. Repeat the neckband steps for the hem band. Once you have all 3 measurements, add them up to get the button band length.
Step 3. Now that we have the button band length we can draft one. On some trace paper draw a vertical line to the length just calculated.
Step 4. Decide how wide you want the button band to be and draw in the rest of the rectangle. In my example the button band is 1.25" wide.
Step 5. Just like the neck and hem bands, the button band will be folded in half. Double the width of the button band you just drafted.
Step 6. Add seam allowance to all edges and a grain line to complete the draft. The button band can now be cut out.
Optional Step - Some people may prefer the look of finishing the sleeve hems with band. Here is how you draft them.
- Decide on the width of the sleeve band, for example 2". Add seam allowance to that amount and measure the width of the sleeve at the point where the cuff will be sewn. Here I'm measuring 2.25" up from the hem to get the width of my 2" cuff. At that height the sleeve is a little over 8".
- Draft a rectangle 2" high and slightly smaller in width than the sleeve, about 1/4 - 3/8" depending on how much stretch your fabric has. In my example the cuff width is 7.75". Add seam allowance to the long sides of the cuff only. The short sides already have seam allowance added.
- When you cut the sleeves out, shorten them by the width of the finished cuff minus the seam allowance. So for my 2" cuff with 1/4" seam allowance, I cut off 1.75" off the bottom of the sleeve.
Sewing instructions
Step 1. Interface both of the button bands
Step 2. Sew the shoulders together on the front and back pieces.
Step 3. Since we're sewing a cardigan the neck band edges don't have to be sewn together. Put the raw edges on the CF's and ease the rest of the neckband in.
Step 4. Set the sleeves and sew up the side seams as instructed in the main directions.
Step 5. Sew on the hem band in the same manner as you did the neckband.
Step 6. Fold the button band right sides together and sew both short ends.
Step 7. Turn the button band right side out, poke out any edges if you need to and give it a good press.
Step 8. Line up the button band on the CF. The finished edge should match to the top of the neckband and the bottom of the hem band.
Step 9. Sew the button band to the cardigan and press the seam allowance towards the body. Repeat on the other side.
Step 10. Using your regular sewing machine, sew buttonholes on the right (if your wearing it) button band. The interfacing will make the fabric stiff enough so that the fabric doesn't get sucked in your machine. You may need to guide/pull the fabric through the foot a bit. It's a good idea to try on a sample first to see how the machine reacts.
Step 11. Cut open button holes and sew buttons on the opposite band.
Throw the new cardigan on your back and stay warm and cozy. Happy Sewing
-Heather


No comments
Post a Comment
Thank you so much for the visit and leaving a comment!
I totally appreciate them all!
Happy sewing!
Abby
x