Thursday, 18 December 2014

THE BONNIE SEW-ALONG WINNERS!


Announcing the Bonnie sew-along winners! 


First Place


Second Place
 Sewoutnumbered


Third Place 


Fourth Place
 Threadpaperpaint


Congratulations to all the lovely ladies who took the time to enter their rad Bonnie's. 

Email me at: abbyhorskins@gmail.com to sort out your prizes.

Abby


x 
SHARE:

Friday, 12 December 2014

The Bonnie sew-along - Voting time!!!!


****VOTING HAS CLOSED & WINNERS ANNOUNCED****

 Time to cast your votes and pick your favorite Bonnie!
You'll be helping all these lovely entrants win some cool sewing prizes AND just before Christmas!!!

Read on below to find out how to place your vote:
      1.  Check out  the fabulous Bonnie entrants listed below.  Also have a more closer look over  on each of their blogs.       

     2.  Pick your favorite and cast your vote on the  voting form.
 Voting starts today and will be open until the 15th December (aest). 
 Once your all done with voting, i will tally them to find out who YOU chose as the winners! Check out the prizes these lovely gals are in the running for here.
The lucky duck winners will be announced on the 16th -17th of December here on the blog and their  prizes shipped out in time for Christmas!


   I love that all the above entrants have sewn up such diverse and individual versions of the Bonnie to suit their own personal style and taste. As well as using some pretty rad fabrics too... definitely some  inspiration bombs for my future Bonnie sewing plans!
 Happy voting!


Abby
x 


SHARE:

Wednesday, 10 December 2014

Bonnie Pattern Hacks - How to make a Cardigan Version

Hello all!  I'm here to do what I do best, show you how to hack up your Bonnie pattern. So are you ready to give your Bonnie pattern a little twist? 
Today we'll be talking about how to turn Bonnie into a cardigan. As a perpetually cold person I can never get enough cardigans.  It's nice to be able to whip one up quickly from a pattern that you know already fits. 

For the cardigan version I'd recommend using stable knits. For example wool jersey, ponte and cotton interlock/cottons with low stretch. My sample is sewn in a wool blend sweater knit that has very little stretch. It's similar to a wool jersey, but slightly lighter weight. You'll also want to use some interfacing on the button band. I recommend using tricot/knit interfacing.  This is interfacing has a knit base and does not change the hand of the fabric as much as woven interfacing. You can purchase this sort of interfacing from Fashion Sewing Supply, Emmaonesock.com, Fabric.com or search for Tricot or knit interfacing.

You'll need to use the crew neck of view A for the cardigan version. Either length of the pattern is fine. For my sample I've used view A's neckline combined with the longer shirt length of view C.

Materials needed - Bonnie pattern, trace paper, ruler (a clear one is best), pen/pencil, scissors. 

Drafting Instructions
Step 1. Trace off the front bodice piece and add seam allowance to the CF. (In my example SA is 1/4")

Step 2. To calculate the length of the button band we will need to take some measurements.  Fold the neckband in half and measure the height.  Subtract seam allowance and write down the measurement. Measure the CF of the bodice piece, subtract seam allowance at both the top and bottom, and then write down that measurement.  Repeat the neckband steps for the hem band.  Once you have all 3 measurements, add them up to get the button band length.

Step 3. Now that we have the button band length we can draft one.  On some trace paper draw a vertical line to the length just calculated.

Step 4. Decide how wide you want the button band to be and draw in the rest of the rectangle.  In my example the button band is 1.25" wide.

Step 5. Just like the neck and hem bands, the button band will be folded in half.  Double the width of the button band you just drafted.

Step 6.  Add seam allowance to all edges and a grain line to complete the draft.  The button band can now be cut out.

Optional Step - Some people may prefer the look of finishing the sleeve hems with band. Here is how you draft them.

- Decide on the width of the sleeve band, for example 2".  Add seam allowance to that amount and measure the width of the sleeve at the point where the cuff will be sewn.  Here I'm measuring 2.25" up from the hem to get the width of my 2" cuff. At that height the sleeve is a little over 8".

- Draft a rectangle 2" high and slightly smaller in width than the sleeve, about 1/4 - 3/8" depending on how much stretch your fabric has. In my example the cuff width is 7.75".  Add seam allowance to the long sides of the cuff only.  The short sides already have seam allowance added.
- When you cut the sleeves out,  shorten them by the width of the finished cuff minus the seam allowance. So for my 2" cuff with 1/4" seam allowance, I cut off 1.75" off the bottom of the sleeve.

Sewing instructions
Step 1. Interface both of the button bands

Step 2. Sew the shoulders together on the front and back pieces.

Step 3.  Since we're sewing a cardigan the neck band edges don't have to be sewn together. Put the raw edges on the CF's and ease the rest of the neckband in.

Step 4. Set the sleeves and sew up the side seams as instructed in the main directions.

Step 5. Sew on the hem band in the same manner as you did the neckband.

Step 6.  Fold the button band right sides together and sew both short ends.

Step 7. Turn the button band right side out, poke out any edges if you need to and give it a good press.

Step 8. Line up the button band on the CF. The finished edge should match to the top of the neckband and the bottom of the hem band.

Step 9. Sew the button band to the cardigan and press the seam allowance towards the body. Repeat on the other side.

Step 10. Using your regular sewing machine, sew buttonholes on the right (if your wearing it) button band. The interfacing will make the fabric stiff enough so that the fabric doesn't get sucked in your machine. You may need to guide/pull the fabric through the foot a bit. It's a good idea to try on a sample first to see how the machine reacts.

Step 11. Cut open button holes and sew buttons on the opposite band.

Throw the new cardigan on your back and stay warm and cozy. Happy Sewing
-Heather

SHARE:

Tuesday, 9 December 2014

Reminder: Tomorrow is your last chance to enter!


Just a quick reminder, tomorrow is your last chance to enter your Bonnie and go in the draw to win all these cool prizes!
 
Simply upload your finished Bonnie's either to the Flickr group, Bluegingerdoll Facebook sew-along page or email me directly with your pics.

Voting will begin on the 12th of December through to the 15th December.  
Winners will be announced on the 16th of December here on the blog - just in time for your prizes to be shipped for Christmas!

You can also check out the sew-along happenings on the usual places such as Instagram, Twitter  or the Flickr group. Simply use the hashtag #Bonniesewalong.


Abby
x
SHARE:

Thursday, 4 December 2014

Bonnie Pattern Hacks - Make a Tie Neck Version

Hello all!  I'm here to do what I do best, show you how to hack up your Bonnie pattern. So are you ready to give your Bonnie pattern a little twist? 
Today we'll be talking about how to modify the View A neckband into a tie neck version. By simply lengthening the neckband you can recreate this vintage look.

For the tie neck version I'd recommend using a lighter weight jersey.  For example, my sample is sewn in a soy/cotton blend. Any jersey that you'd consider to be T-shirt weight will work fine. Thicker jerseys may be difficult to turn the narrow tie area right side out.

You'll need to use the crew neckline of view A for the Tie neck version. Either length of the pattern is fine. For my sample I've used view A's body combined with the sleeves from view C.

Materials needed - Bonnie pattern, trace paper, ruler (a clear one is best), pen/pencil, scissors. 


Drafting Instructions
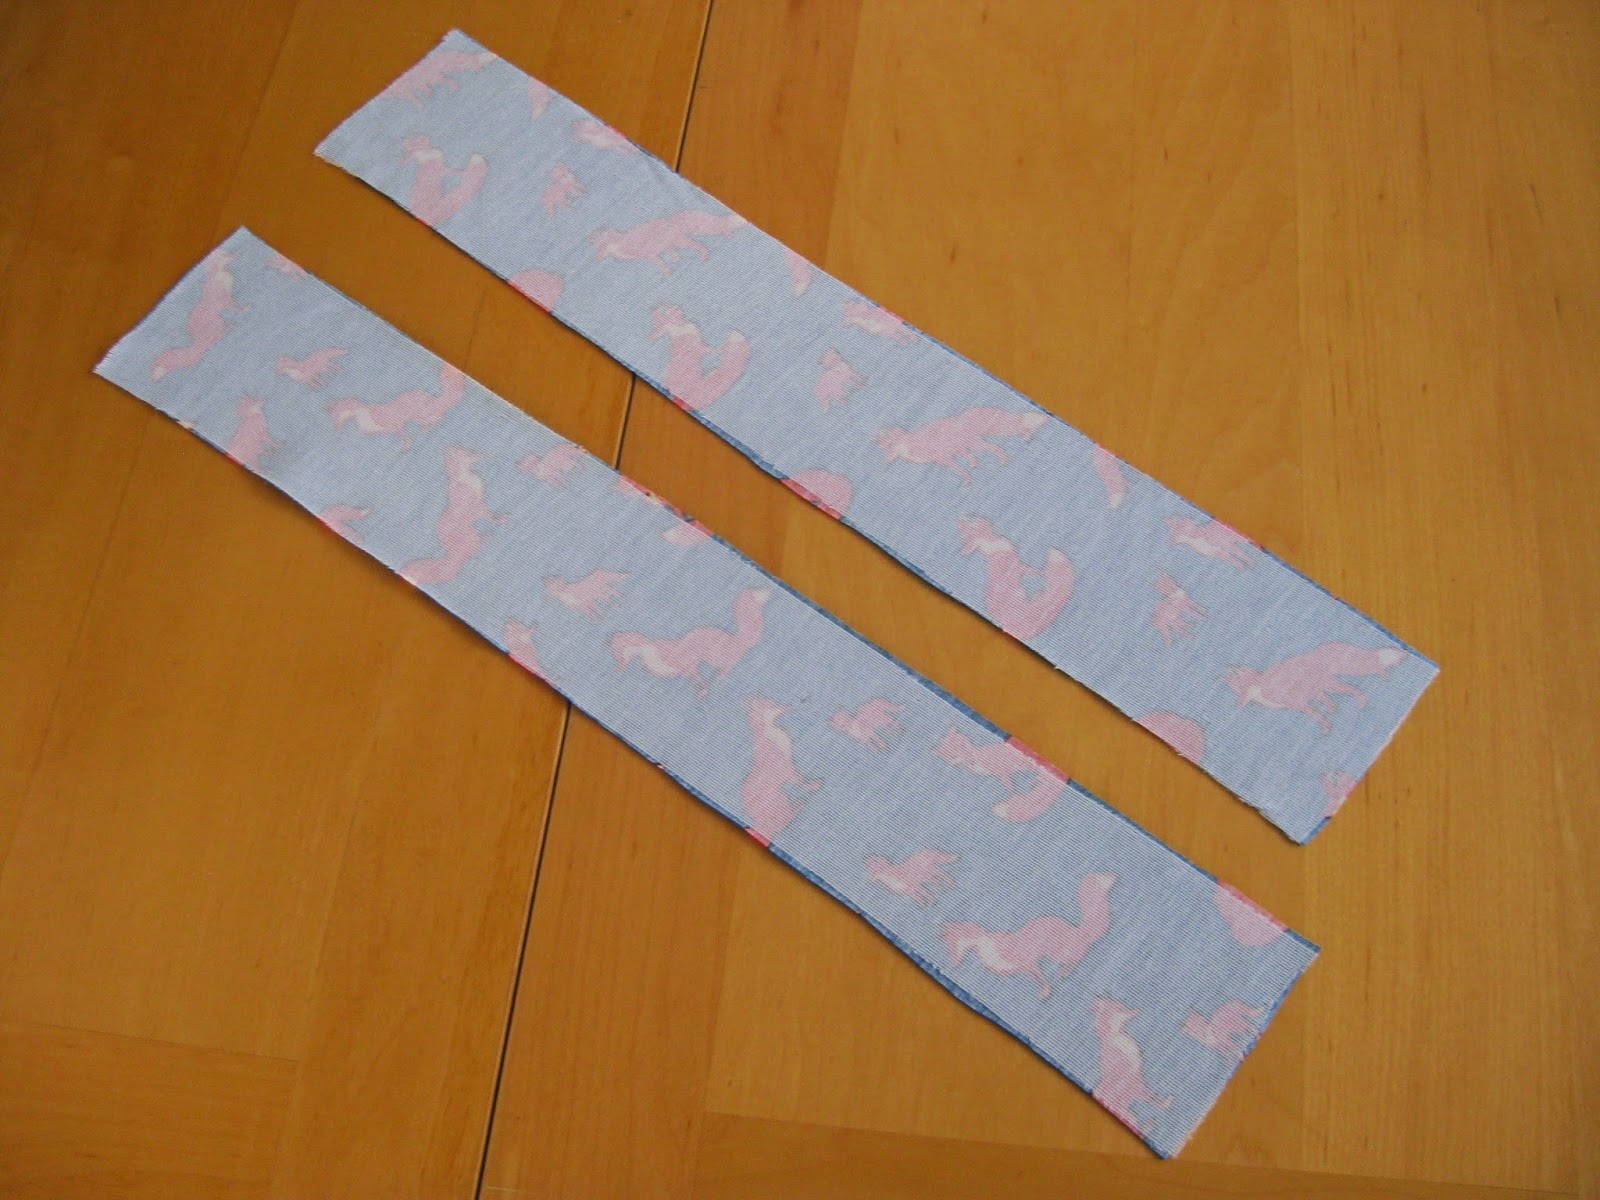
Step 1. Put trace paper over the view A neckband and trace the two horizontal sides and the edge with the fold.

Step 2. On the other vertical end draw notches at your selected size. 

Step 3.  Extend the neckband out another 19 inches.. You can reduce this length if you'd like a shorter tie. If the tie is too wide to fit on your fabric, then add seam allowance to the CB edge so that the tie can be cut in two pieces.

Step 4.  Since the tie was traced off the original neckband it already has seam allowance added. Add a grain line to the pattern and cut it out to finish.

Sewing instructions
Step 1. Sew the shoulders of the body together.

Step 2. If you've split the tie into two pieces sew them together at the CB.

Step 3. Fold the tie in half horizontally and sew the edges up to the notch mark on both sides.

Step 4. Turn the tie ends right side out.

Step 5.  Match the middle of the tie to the CB notch on the neckline.  Position the tie notches on either side of the CF notch on the neckline.  It's fine to leave a little space since the knot of the bow will cover it.

Step 6. Sew the necktie together with the neckline, starting and stopping at the necktie notches.

Step 7. Continue on with the regular sewing instructions for Bonnie starting with gathering and then setting the sleeves.

After you're finished, tie your Bonnie in a jaunty bow and channel your inner feisty librarian. Happy Sewing
-Heather

SHARE:

Wednesday, 3 December 2014

The Bonnie sew-along


Woo hoo! We're at the fun part, all those cool prizes are now up for grabs!
 Entries for the Bonnie sew-along are now open. 
Read on for all you need to know.

From today you can start sharing your photos of your finished Bonnie's to be in the running to win the cool prizes.  You will have until the 10th of December to upload them, then entries will close and i'll start rounding them up so the voting to begin! Which will begin on the 12th of December through to the 15th December. Winners will be announced on the 16th of December here on the blog - just in time for your prizes to be shipped for Christmas!

You can share your pics on the Facebook sew-along group, Flickr Use the hastag #bonniesewalong on Instagram or Twitter  (remember to tag @bluegingerdoll) or you can email me your pics directly.


Abby
x


SHARE:

Tuesday, 2 December 2014

The Bonnie sew-along #5 - Finishing touches!


Today is the final post in the Bonnie sew-along!

Let's get started straight away onto the finishing touches of our Bonnie's.


SLEEVE HEMS - VIEW A

View A has the gorgeous ( i think) flutter sleeves that need a small hem to allow to keep this shape and move freely. You can either use a narrow zigzag stitch or a long straight stitch on this sleeve hem. Simply fold the edge of each sleeve to the wrong side by 1/4'' (6mm) and press down. Stitch both sleeve hems down. Give each sleeve hem a good press on the right side.


VIEW B & C SLEEVE HEMS

Fold each sleeve hem to the wrong side by 1/2'' (13mm) and press.  Top stitch each sleeve hem in place by using a twin/double needle or a long stretch stitch. Press each sleeve on the right side.


VIEW A & B WAISTBAND

 Fold your waistband piece in half lengthwise with the right sides together. Stitch the two short ends together. Once you've done this, fold the waistband double lengthwise with the wrong sides together.
 Remember how we divided the neckline band and bodice neckline into fourths with pins? We're going to do exactly the same thing with the waistband piece and bodice hem. You can check out that post here.

Same again with how we attached our neckline bands, we will follow the same steps with the waistband. Stitch the waistband in place by stretching it to fit the bodice hem. Be careful not to stretch the bodice hem while you sew. Press this seam.


VIEW C BODICE HEM

Same process (above) as the sleeve hems. Fold the bodice hem to the wrong side by 5/8'' (16mm) or your preferred amount and press down. Top stitch the bodice hem by using a twin/double needle or long stretch stitch. Give it a good press!


And that's it! We're done with this side of things but stay tuned for a whole heap of pattern hack posts that will have you seeing Bonnie is a whole new light and just whole versatile this pattern is.

I'll also post all the info on the voting, dates, how to post your Bonnie etc very soon.

Abby
x

SHARE:

Monday, 1 December 2014

THE BONNIE SEW-ALONG #4 - SLEEVES & SIDE SEAMS ( ALL VIEWS )


And we're back! 
And because Bonnie is such a quick and easy make we're on the home stretch of the  sew-along. Yay!

If you need a refresher or are just joining in, you can find the last sew-along posts here. 
Or if you need to ask a questions, show off your gorgeous fabric or simply want to hang then head over to the Facebook sew-along group and join up.


SLEEVES - ALL VIEWS
 
All the Bonnie versions have the subtle gathering at the sleeve head so the next few steps cover them all.
Stitch your machine to a baste stitch and stitch 2 lines of stitches along the top of each sleeve head;Between the marked notches and within the seam allowance. Leave long thread tails on each end.
Apologies i've used a light colored thread which is obviously hard to see in the photo.

Grab your bodice and with right sides together place each sleeve in flat to each bodice armhole, matching the notches on the sleeve with the notches on the bodice armhole.

Pin each sleeve place.

 Stitch each sleeve in place.

Below is what you're left with.

BODICE SIDE SEAMS - ALL VIEWS

Right sides together pin the bodice side seams and sleeves together. Stitch the bodice side seams together in one continuous stitch.

TA DA! You've successfully attached your sleeves and nearly finished your Bonnie bodices!

All we have tomorrow in the final post are our sleeve and bodice hems, add the waistband if you're sewing up View A & B and we're done!

Abby
x
SHARE:
© Bluegingerdoll - Vintage inspired sewing patterns, sewing tips and tricks | All rights reserved.
Blogger Template Created by pipdig