Hello all! I'm here to do what I do best, show you how to hack up your Bonnie pattern. So are you ready to give your Bonnie pattern a little twist?

Today we'll be talking about how to add a cowl neck to the pattern. Personally I've got a bit of a soft spot for a cowl neck, since any sort of draping around the neckline is flattering. They also give a bit more neck coverage, always a plus once the temperature drops.
For the cowl neck version I'd recommend using a knit jersey that has some drape to it. For example, my sample is sewn in a slinky polyester jersey. Any sort of bamboo, rayon, modal or blends of these fibers would also work well. Save the stable knits like wool jersey, ponte and cotton interlock for other variations of the pattern.
You'll need to use the scoop neckline of view B for the cowl neck version. Either length of the pattern is fine. For my sample I've used view B's neckline combined with the longer shirt length of view C.
Drafting Instructions
Step 1. Select the front and back scoop neck pieces and draw in the seam allowance along the necklines and shoulders. Using a flexible tape measure, measure the back and front necklines on the seam line.


Subtract the shoulder seam allowances and you'll get the length of the cowl needed to fit in the neckline.
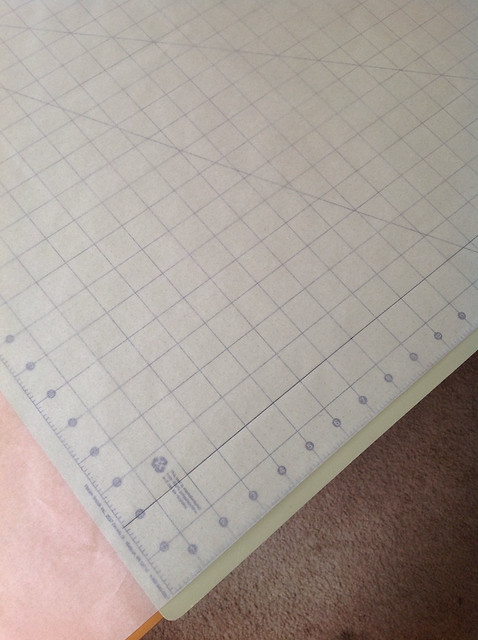
Step 2. If you have a self healing cutting mat with a grid then get it out now. Using it to measure dimensions will make the drafting process very simple. Using the cutting mat grid or a regular ruler, draw a horizontal line that is the same length as the front and back necklines combined.
Step 3. Decide how high you want the cowl to be and draw another horizontal line at that height. For example, my sample has a 6" high cowl.

Step 4. Next step is to double the height of the cowl since it will be folded in half during sewing. In my example this makes the pattern 12" high.

Step 5. Find the halfway point on the long side of the cowl and mark it with a notch. You'll want to match this notch with a CF notch on your neckline. I usually put my grainline at this location too.

Step 6. Add seam allowance to all the sides of the rectangle and cut it out. Your cowl pattern is complete and ready to sew.
Step 1. When cutting out the front and back Bonnie pieces cut a notch at the CF and CB on the necklines. Also cut a notch at the mid point of the cowl.
Step 2. Sew the shoulder seams together.
Step 3. Sew the CB/short seam of the cowl.

Step 4. Fold the cowl in half. If you don't like lining 3 layers up at once, then baste the long edges of the cowl together.

Step 5. Take the seam of the cowl and match it to the CB notch on the neckline. Pin in place. Then match the mid point cowl notch with the CF front notch on the neckline.

Step 6. Stitch together all three layers, easing the cowl into place between the pinned notches.

Step 7. The inside of your neckline will look like this. The drape of the cowl will hide the serged edge from view when you are wearing it.

Step 8. Continue on with the regular sewing instructions for Bonnie, starting with gathering and then setting the sleeves.
I hope you enjoy wearing your cowl necked Bonnie as much as I do. Happy sewing!
- Heather

I hope you enjoy wearing your cowl necked Bonnie as much as I do. Happy sewing!
- Heather
No comments
Post a Comment
Thank you so much for the visit and leaving a comment!
I totally appreciate them all!
Happy sewing!
Abby
x