Friday, 24 October 2014

Tutorial: How to make thread belt loops


I don't know about you but i'm a big fan of adding belts to skirts and dresses either to change up an outfit or add something a little extra special.  I do this a lot with fit and flare dresses, which in their own right accentuate the small of the waist but i find wearing a cute thin belt with them flatters even more. In saying this though, there is  nothing worse than wearing a belt and having it either too tight, which pulls at the fabric or wearing it too loose and it keeps on slipping down. Your answer to this little conundrum is: Thread belt loops. 

They're a cinch to make and you'll be making a heap in no time!


Cut yourself 6 strands of thread roughly about 5'' long each.

On your machine change your stitch to zig zag, use a stitch width of 4 and a stitch length of 1. Simply zig zag over six strands of thread while holding them taut.


When sewing the thread loop, pull on both ends of the threads while sewing slowly. This helps you keep them in place as the needle zig zags over them.

Below is what you'll end up with when done.

Close up.


With a large eye needle, thread the thread loop through the eye. 
This is a little tricky and might take a bit of working to pull it through.

 Below is the final belt loop attached to my Odette dress, simply just threaded through at the side seams.


 Grab your favourite belt and thread it your new belt loops.


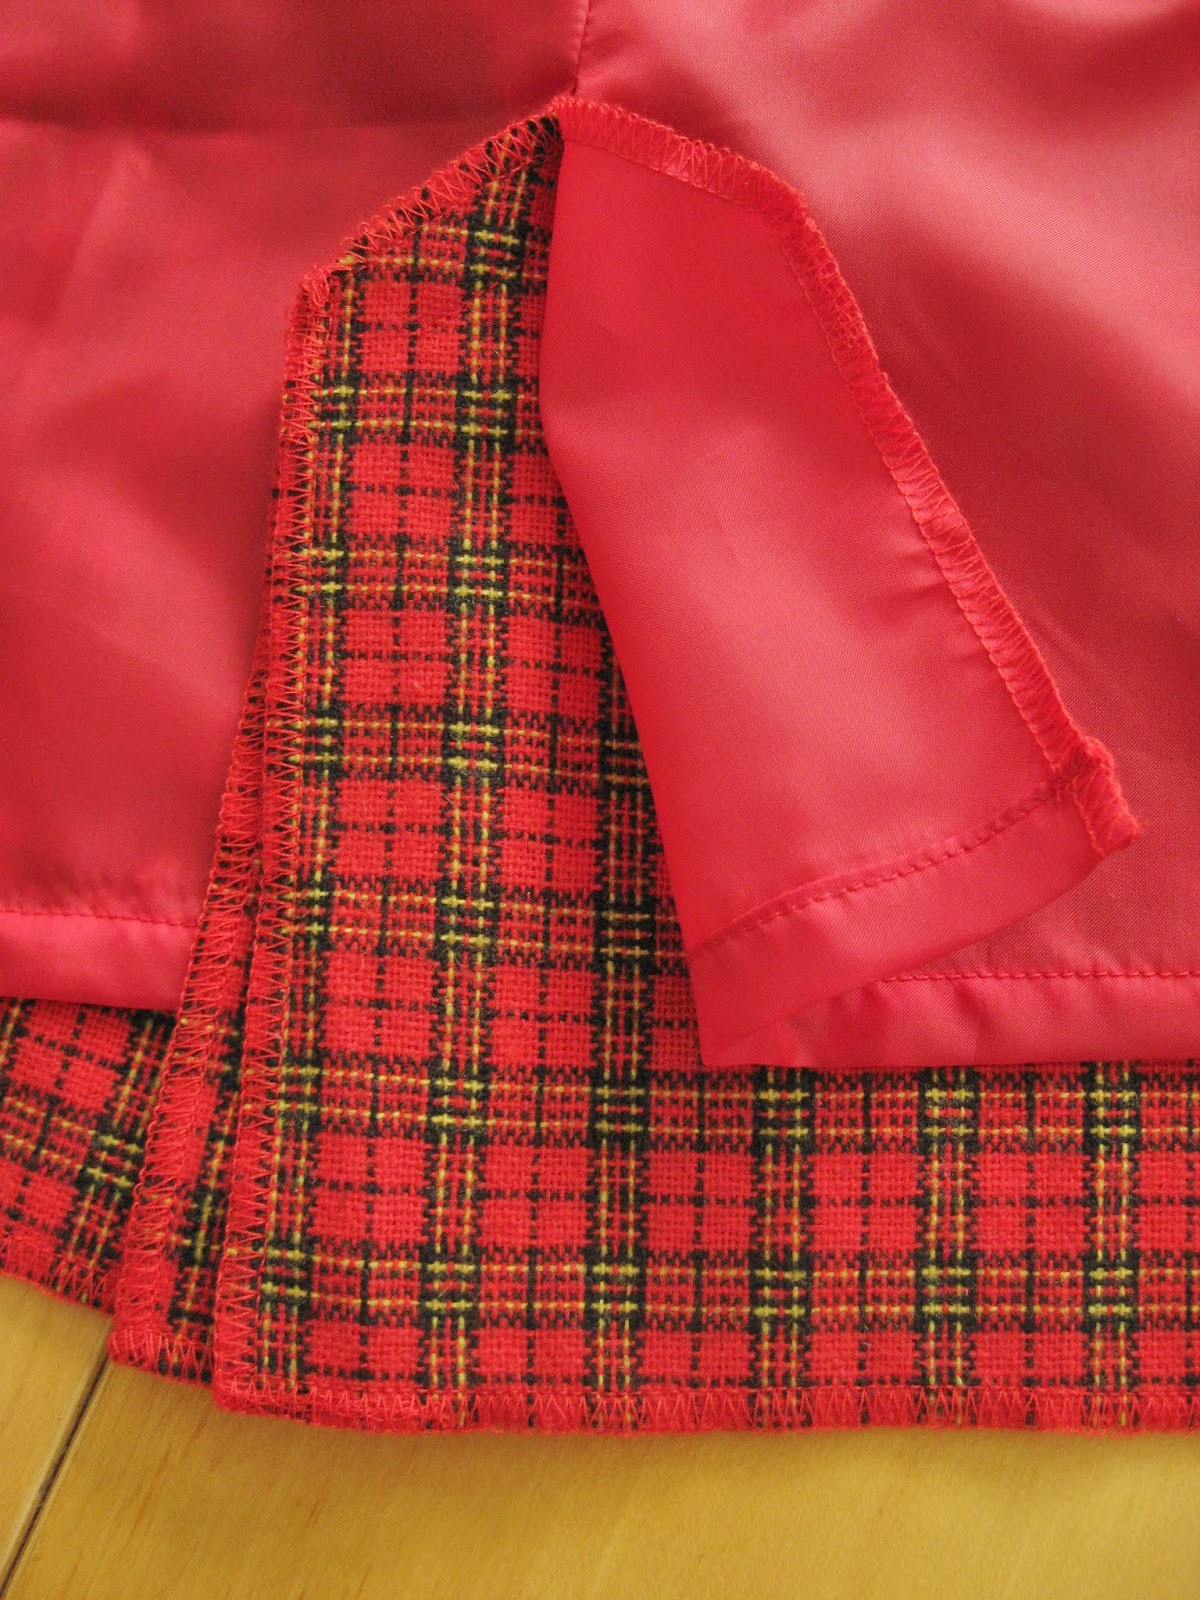
Not only can you make these and use them as belt loops you can also use them as french tacks on lined garments or as lingerie guards.


Abby
x


SHARE:

Tuesday, 14 October 2014

Tutorial: Say no to Slip stitching (Attach a bodice lining using your machine)


As promised, today i'll demonstrate how to attach the bodice lining into the Odette dress  using your machine.

 You can use this method in most lined dress patterns to avoid slip stitching the lining to the zipper. This is faster, more durable way to attach a bodice lining and also gives you a really professional finish. And if you're anything like me and always trying to get out of hand stitching wherever possible, then this technique is your ticket outta slip stitching town!

You may need to practice this a few times as well as with any new skill you learn but i promise its easy and you may never slip stitch again! Less of course you want to.
  So here goes.

Following the Odette pattern instructions, at this point your bodice lining is attached to the bodice shell at the neckline.
Place your bodice lining and bodice shell  right sides together.

 Align the bodice shell and bodice lining together at the center back seam as well as at the waistline seam, 'sandwiching' the invisible zipper in between the shell and lining fabric.

Pin the bodice shell and lining fabric together along this center back seam. You can see in the photo below the bump of the zipper  sitting in between the bodice shell and bodice lining.


Now you're ready to start stitching the bodice shell and bodice lining together. Pop  a zipper foot onto your machine and start stitching as close to the zipper tape (which you will be able to just feel) and start stitching  from the neckline down. Stop your stitching roughly 3/8'' from the bottom edge of the waistband. You'll notice  when you start stitching on the left side of the bodice you will easily be able to stitch down to the waistline, when you get to the right side i flip the bodice around and start my stitching from the waistline up towards to the neckline, this just makes it easier and less fiddly. Again, remember to start you stitching 3/8'' up from the bottom edge of the waistband if you do flip the bodice around.

Once you have stitched up both sides of the bodice shell and lining,  turn you bodice right sides out.Below is  a close up of what it will look like from the right side after your stitching.See how the zipper is 'sandwiched' between the shell and lining fabric.

Give the bodice neckline and the back center seam (where you just stitched the bodice lining) a good press and voila! No more slip stitching! Your bodice lining is securely in place.

Easy right?!

Abby
x
SHARE:

Monday, 7 July 2014

Tutorial: How to Catch Stitch (On the Ava jacket)

 The 'Ava' jacket calls for quite a bit of Catch stitching throughout the construction process. Catch stitching is a hand stitch that looks like a series of X's on the wrong side of the fabric and parallel dashes on the right side. 

Take a seat and read about how to make Catch stitching your new friend.


It is an elastic stitch that keeps two layers flat against each other.  This makes it perfect for using on edges that curve around the body, like collars and cuffs. Or for edges that need to be flexible to give good movement, like skirt hems. The stitch is almost invisible on the right side of the fabric due to the small number of threads "caught" by the needle. Other uses for catch stitching are to tack down pleats, hold down arm and neck facings, or a pretty stitch to attach labels.

Sounds great right?  So let's break down the steps on how to do this particular hand stitch.

Prep - The top piece of fabric that is being catch stitched needs to have the seam allowance pressed under. A quick way to do this is to use your machine to run a line of basting 5/8" away from the cut edge.  Use the basting line as a folding guide when pressing down the seam allowance.  After the fabric has been pressed, remove the basting stitches. Now your fabric is ready to catch stitch.

Step 1 - Pin the two fabrics together. The top layer will be the fabric with the pressed under seam allowance.  Aligned the folded edge of the top layer with the seam line of the lower layer. Catch stitching is worked left to right, so start your thread accordingly.

Step 2 - With the needle pointing towards the left, pick up a few threads on the bottom layer of fabric, right above the edge of the top layer of fabric.


Step 3 - Pull the thread through so that it is taunt, but the fabric remains flat.

Step 4 - Move the needle diagonally further down from the fabric edge.  With the needle still pointed to the left pick up a few threads, this time going through both layers of fabric.

Step 5 - Again pull the thread taunt, but not too tight.

Step 6 - Continue repeating steps 2 and 4, trying to keep the stitches evenly spaced along the edge of the fabric. Tie off the thread when you reach the end of your seam.


Happy sewing Heather.

SHARE:

Friday, 4 July 2014

TUTORIAL: How to Mitre corners (On the 'Ava' jacket)


Ever noticed those clean and professional looking, neatly  folded corners on a skirt vent, quilt corners, jacket lapels and even place mats? 

Wondered what kind of sewing magic one must know to be able to do this?

Well wonder no more! Today's tutorial i'll be holding your hand showing you how to complete the sewing technique called ' Mitering corners' on the ' Ava' jacket which uses this technique on its front collar lapels.  

Just follow a few simple steps and you'll be on your way to lovely neat and professional corners on your sewing projects.

* If you are using this technique on other projects than the 'Ava' jacket you may want to finish the raw edges of the seam allowance before you Mitre the corners of you project. The 'Ava' jacket is lined so these raw edges don't show. 

Step 1:

Start on either side of the front collar shell pieces.


Fold the seam allowance  to the wrong side along the collar shell and the jacket hem leading up to the jacket front.


Press them well so you have clear visible crease lines.


Step 2:

For this step you can either press along this line or mark it on the actual fabric. In this post i have chosen to mark this line, but in the actual 'Ava' instructions i advise to press along this line. Either way works.


Mark a line across the point of the triangle on the wrong side of the fabric.


Step 3:

Right sides together fold the collar shell together, down the centre of this this corner. Match all of the creased pressed lines and edges of the collar edges. 


Step 4: 

Whichever method you chose to use (creased or marked line)  stitch along this marked line on the wrong side.


Trim the excess fabric just below this stitched line.


Step 4:

For the final step turn this corner right side out and press.


Corners from the right side.


Repeat on the opposite of the collar shell corner and then sit back and admire your lovely profesh corners!


Abby
x

SHARE:

Thursday, 26 June 2014

Tutorial: How to Line Betsy (Views A & C)


As much fun as it is to quickly whip up an unlined skirt, there are times that you need a lining. Maybe the fabric is too itchy, too clingy, or just too sheer. We want your fabric options for Betsy to be wide open, so today I'm showing you how to draft your own lining. I'll be covering views A and C, since drafting is needed to deal with the vents. There will also be a bonus tutorial on attaching the lining to the vent in view A.

Before drafting your lining, you'll want to muslin Betsy and make any fitting changes you need. That way you don't have to do fitting work twice. For example my sample skirt has a size 12 waist and a size 14 hip. I've also changed the top of the skirt vent to be a diagonal instead of a square.  That's my own personal preference, but will not change the instructions in any way. OK then, let's start drafting.

Betsy View A
When you sew a regular vent on an unlined skirt, the vent is made by folding the fabric and top-stitching the top of the vent.  When you add a lining to the skirt this changes. The vent is made by cutting one side of the vent lining smaller, so that it pulls the fabric underneath and creates the folded edge.  The skirt no long needs the top-stitching because the lining holds the vent in place.

Drafting steps
Step 1 - Trace copies of the front and back skirt pieces of view A.

Step 2 - On both the front and back pieces, shorten the length by an 1". This will keep the lining from peeking out of the hem line.


Step 3 - On the back lining the right side will have a regular vent extension and the left side will have a cut out to pull the self fabric vent under. We need to draft the cutting line for the left side. To start extend the CB line down through the vent.

Step 4 - Fold the vent extension towards the skirt on the line that was just drawn.

Step 5 - Trace the vertical line of the vent on the skirt and unfold the vent extension.

Step 6 - The top of the lining vent needs to be drawn 1/2" lower than the original. Place marks 1/2 lower on both the CB seam and the traced vertical vent line.

Step 7 - Using your new marks, draw in the top of the lining vent.

Step 8 - Label this line "cut left side only".  When you cut your lining, cut two pieces. Go back and use this line to cut the extension off on the left piece.  (P.S. - The right side of the fabric is facing me when I choose which piece is the left back.)


How to sew the lining to the vent 

Prep -  On both the self and lining fabric, sew darts and side seams.  Finish the seams and press them open. Hem the lining fabric to it's finished length, the self fabric remains un-hemmed.  I've done a simple double turn and machine stitch for my lining finish. 


Step 1 - Starting with the self fabric, sew the CB seam from the zipper notch to the top of the vent. Stop sewing 5/8" away from the edge of the vent. We will be attaching the lining to the vent edges, so the seam allowance must remain free. Press the seam open.

Step 2 - Take the lining and sew the CB seam from the zipper notch down to the vent circle mark. Press the seam open.

Step 3 - Wrong sides together, baste the lining to the self fabric at the waist.


Step 4 - Now we will sew the vent edges together.  Turn the skirt inside out so that you are looking at the right side of the lining. To make sure the lining doesn't get bunched up during the process, pin the lining to the self fabric at the zipper notch and then a little further down.


Step 5 - The side with the underlap is getting sewn first. On Betsy that will be the right side of the vent when the skirt is inside out.

Step 6 - Take the lining vent extension and flip it over so that the right side of the lining faces the right side of the self fabric.


Step 7 - Pin the two fabrics together matching up the top angle of the vent. You need to leave the seam allowance for the top of the vent free to sew later, so mark 5/8" down from the edge. I've put a pin right at the point I'm supposed to start sewing.


Step 8 - Stitch the seam. Start 5/8" down from the top of the vent, and stitch down to the hemmed edge of the lining.

Seam looks like this on the right side.


Step 9 - Time to sew the other side of the vent. Once again flip the lining over so that the two right sides face each other.  On this side I measure up from the bottom of the self fabric for placement of the lining. This makes sure the hem edge starts at the same height on both sides.
Pin into place.

Step 10 - Stitch the seam like on the other side of the vent.
Seam looks like this on the right side.

Step 11 - Pull the lining out of the skirt so that the vents look like this. We'll be sewing the top of the lining vent now.

Step 12 - Clip the lining at the angle so that it lays flat. You can also clip on the other side near the self fabric if the lining is puckering.

Step 13 - Pin both sides of the lining together at the top of the vent.

Step 14 - Sew the seam, from the CB seam to the seam that attached the lining to the self fabric.

Step 15 - Turn the skirt right side out.  The cut out on the left side of the lining will pull the self fabric under giving you a proper vent. Press the self fabric so that the vent edges are nice and crisp.

The finished vent will look like this on the outside of the skirt......


.....and like this on the inside of the skirt.


Betsy View C
Since the pleated kick pleat is fully enclosed, you have two options when drafting a lining for view C.  The lining can have either a regular kick pleat or a slit with finished edges.  I'll show you how to do both.

Drafting - Regular kick pleat
Step 1 - Trace copies of the front and back skirt pieces of view C.

Step 2 - On both the front and back pieces, shorten the length by an 1". This will keep the lining from peeking out of the hem line.

Step 3 - Extend the CB line down through the vent.


Step 4 - Straighten the bottom of the hem line so that it is at a 90 degree angle to the CB and vertical vent lines.


Step 5 - Draw a line parallel to the CB about 2" away.


Step 6 - Redraw the top of the vent so that it 45 degree angle, or close to it.


Step 7 - The newly drafted vent can be cut out now and the lining pattern is ready to be used. 

Sewing Notes - Regular kick pleat
Step 1 - Sew the CB of the lining from the zipper notch down to the circle vent marking.

Step 2 - Baste the lining to the waist of the skirt, wrong sides together.

Step 3 - Use the vent sewing instructions for View A of the Betsy skirt to complete the rest of the lining.

Drafting - Finished Slit
Step 1 - Trace copies of the front and back skirt pieces of view C.

Step 2 - On both the front and back pieces, shorten the length by an 1". This will keep the lining from peeking out of the hem line.

Step 3 - Extend the CB line down through the vent.


Step 4 - Straighten the bottom of the hem line so that it is at a 90 degree angle to the CB and vertical vent lines.

Step 5 - Cut the entire vent extension off along the extended CB line.


Sewing Notes- Finished Slit
Step 1 - Sew the CB of the lining from the zipper notch down to the circle vent marking.

Step 2 - Clip the seam at the circle vent marking.

Step 3 - Fold the seam allowance under to create a narrow edge finish and stitch down. 

Step 4 - Baste the lining to the waist of the skirt, wrong sides together

There you go, now you're all prepared for some luxuriously lined skirts. Just remember to pre-wash your lining, just like you do with self fabric.  

Happy Sewing!
Heather
SHARE:
© Bluegingerdoll - Vintage inspired sewing patterns, sewing tips and tricks | All rights reserved.
Blogger Template Created by pipdig